
Crafting Serenity: A Guide to Building a Beautiful Bird House
- Jan 30, 2024
- 4 min read
Updated: Jan 31, 2024
Attracting a flurry of feathered friends becomes a breeze when you offer them stylish, budget-friendly bird houses tailored to their preferences. Explore two DIY projects, perfect for solo crafting or teaming up with your teenagers, designed to allure Wrens and Blue Jays into your garden retreat. Consider crafting additional houses as thoughtful gifts for friends, family, and neighbors – a surefire way to win the admiration of both avian enthusiasts and those with a more terrestrial affinity!
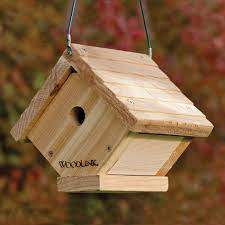
WREN BIRD HOUSE

Wrens, those delightful small songbirds known for their charming melodies, effortlessly harmonize with both rural and urban environments, making them a joy to attract. Building a Wren Bird House is a straightforward and uncomplicated task. Remarkably, you can fashion four of these charming abodes using just one 8-foot 1" x 6" piece of lumber. Let's delve into the straightforward steps to create these appealing habitats.

Start by cutting two ends (A) from each two-foot long 1″ x 6″.
Use your Bandsaw to resaw the remainder of each two-foot long board in half, then plane each board to a 5/16″ thickness.
Cut all parts (B, C, & D) to size as shown in the drawing.
Tilt your saw table to 45-degrees and bevel the Roof (B), Sides (C) and Bottom (D) as shown in the drawings.
Drill the entrance hole no larger than 1″ in diameter to keep out all undesirable birds, then drill a 1/4″ hole to accept the dowel perch.
Use small galvanized or aluminum nails and waterproof wood glue to assemble the Ends, Roof and Sides. NOTE: When working with thin woods, it’s always a good idea to drill small pilot holes for all nails prior to assembly to prevent wood splitting.
Using a 3/32″ diameter drill bit, bore pilot holes for the screw eyes in the top of the Roof. Install the screw eyes.
Tap the Perch (E) into place. It should fit snugly without glue, but if it doesn’t, a little glue will help hold it in position.
Slide the bottom into position. Do not glue or nail the bottom. This allows its easy removal for clean-out.
Apply the finish of your choice (see the Tips For Bird Houses box, below). Once the finish has dried, hang the house from your favorite tree. Wren houses should be hung 6′ to 10′ above ground.
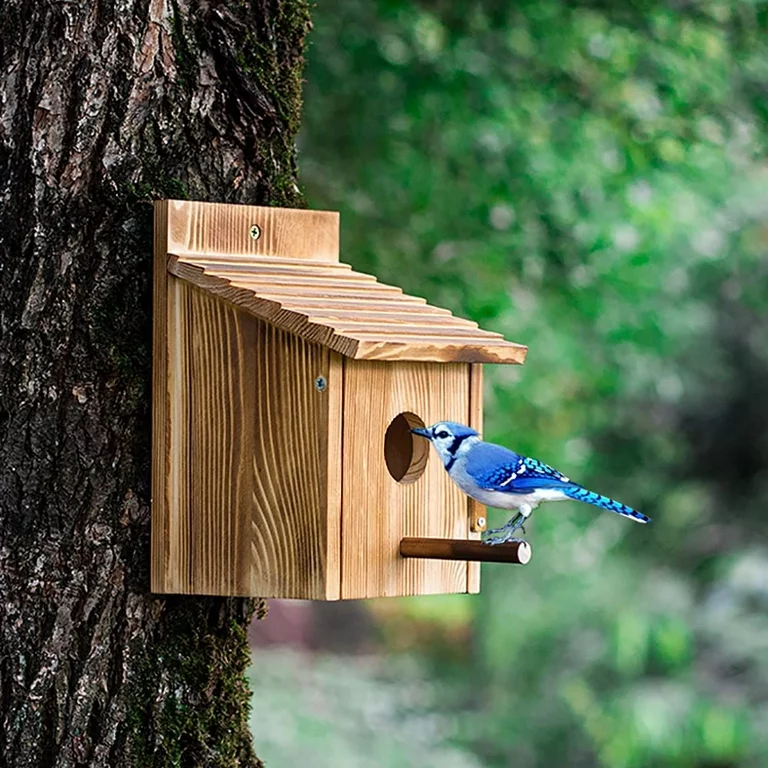
BLUE JAY HOUSE

Blue Jays, renowned for their vocal presence, protective nature, and striking beauty, make for captivating companions in any outdoor space. This birdhouse offers generous room for Blue Jays to nurture their families, featuring a convenient hinged top for easy clean-out once they've relocated. Surprisingly, you can fashion two of these appealing dwellings using just a single 6-foot 1" x 6" piece of lumber. Let's explore the step-by-step process to create these inviting homes for our feathered friends.

Start by cutting a Front (A), Back (B), Bottom (C) and Roof (D) from each 3-foot long piece of 1″ x 6″ wood.
Use your Bandsaw to resaw the remaining piece of stock in half to make the two Sides (E). Since this piece is too small to safely run through a thickness planer, use your Shopsmith Belt Sander to bring these pieces to their 5/16″ thickness and smooth their resawn surfaces.
Cut the two sides (E) to their 8-5/8″ length. Set your Miter Gauge to 70-degrees to form the angled top edges, as shown in the drawing.
Return your Miter Gauge setting to 90-degrees, tilt your saw table to 20-degrees and bevel the tops of the Front (A), Back (B) and the ends of the Roof (D), as shown in the drawing.
Drill a 1-1/2″ entrance hole in the Front (A), then drill a 1/4″ hole to accept the dowel perch (F) and another 1/4″ diameter mounting hole in the Back (B).
Use small galvanized or aluminum nails and waterproof wood glue to assemble the House. Since the Sides, Front and Back are nailed directly to the 3/4″ thick Back and Bottom, pilot nail holes will not be necessary with this House.
Mount the Roof (D) to the Back (B) with 1″ x 1″ brass hinges.
Tap the Perch (F) into place. It should fit snugly without glue, but if it doesn’t, a little glue will help hold it in position.
Apply the finish of your choice (see the Tips For Bird Houses box, below). Once the finish has dried, screw the House to your favorite tree. Blue Jay houses should be hung 5′ to 10′ above ground.
TIPS FOR BIRD HOUSES
Use woods that are suitable for outdoors. Redwood, cedar, cypress and exterior grade plywoods are all good choices. DO NOT use pressure treated woods as they may be harmful to wildlife.
Use ONLY rust-resistant hardware made of galvanized steel, aluminum, brass or stainless steel for best results.
Build all Bird Houses so they can be cleaned out at least once a year to control lice. Hinged tops or sliding bottoms are just two construction techniques that allow for easy clean-out.
Finish Bird Houses with exterior grade stains or paints. When painting, choose light colors to minimize heat absorption on hot Summer days.
Never place a Bird House where squirrels, cats or other bird enemies may pose a threat.
Keep Houses away from noisy human or automotive traffic areas.
Drill all entrance holes from the front side of panels until the bit tip barely comes through the wood. Then, stop drilling and drill the remainder from the back side to prevent splintering that could injure birds.
If your House will be placed where it is not protected from heavy rainfalls, leaves, etc., it’s a good idea to drill a few 1/8″ diameter drainage holes in the bottom.
Hatchlings often benefit from footholds inside the house. If your house has smooth sides, it may be difficult for them to reach the opening. These footholds can be provided by gluing small 1/4″ square scraps of wood or dowels to the inside surfaces, or by using a saw blade or chisel to cut a series of horizontal grooves across surfaces to roughen them.


Comments