
Rolling in Style: Crafting the Perfect Wooden Rolling Pin for Your Kitchen Creations!
- Jan 26, 2024
- 2 min read
Efficiency Boosting Production Tip: While our initial examples were crafted using traditional Lathe Turning Chisels and workpiece mounting methods, expedite the creation of multiple Rolling Pins by employing Shopsmith’s Lathe Duplicator for a swifter turnaround.

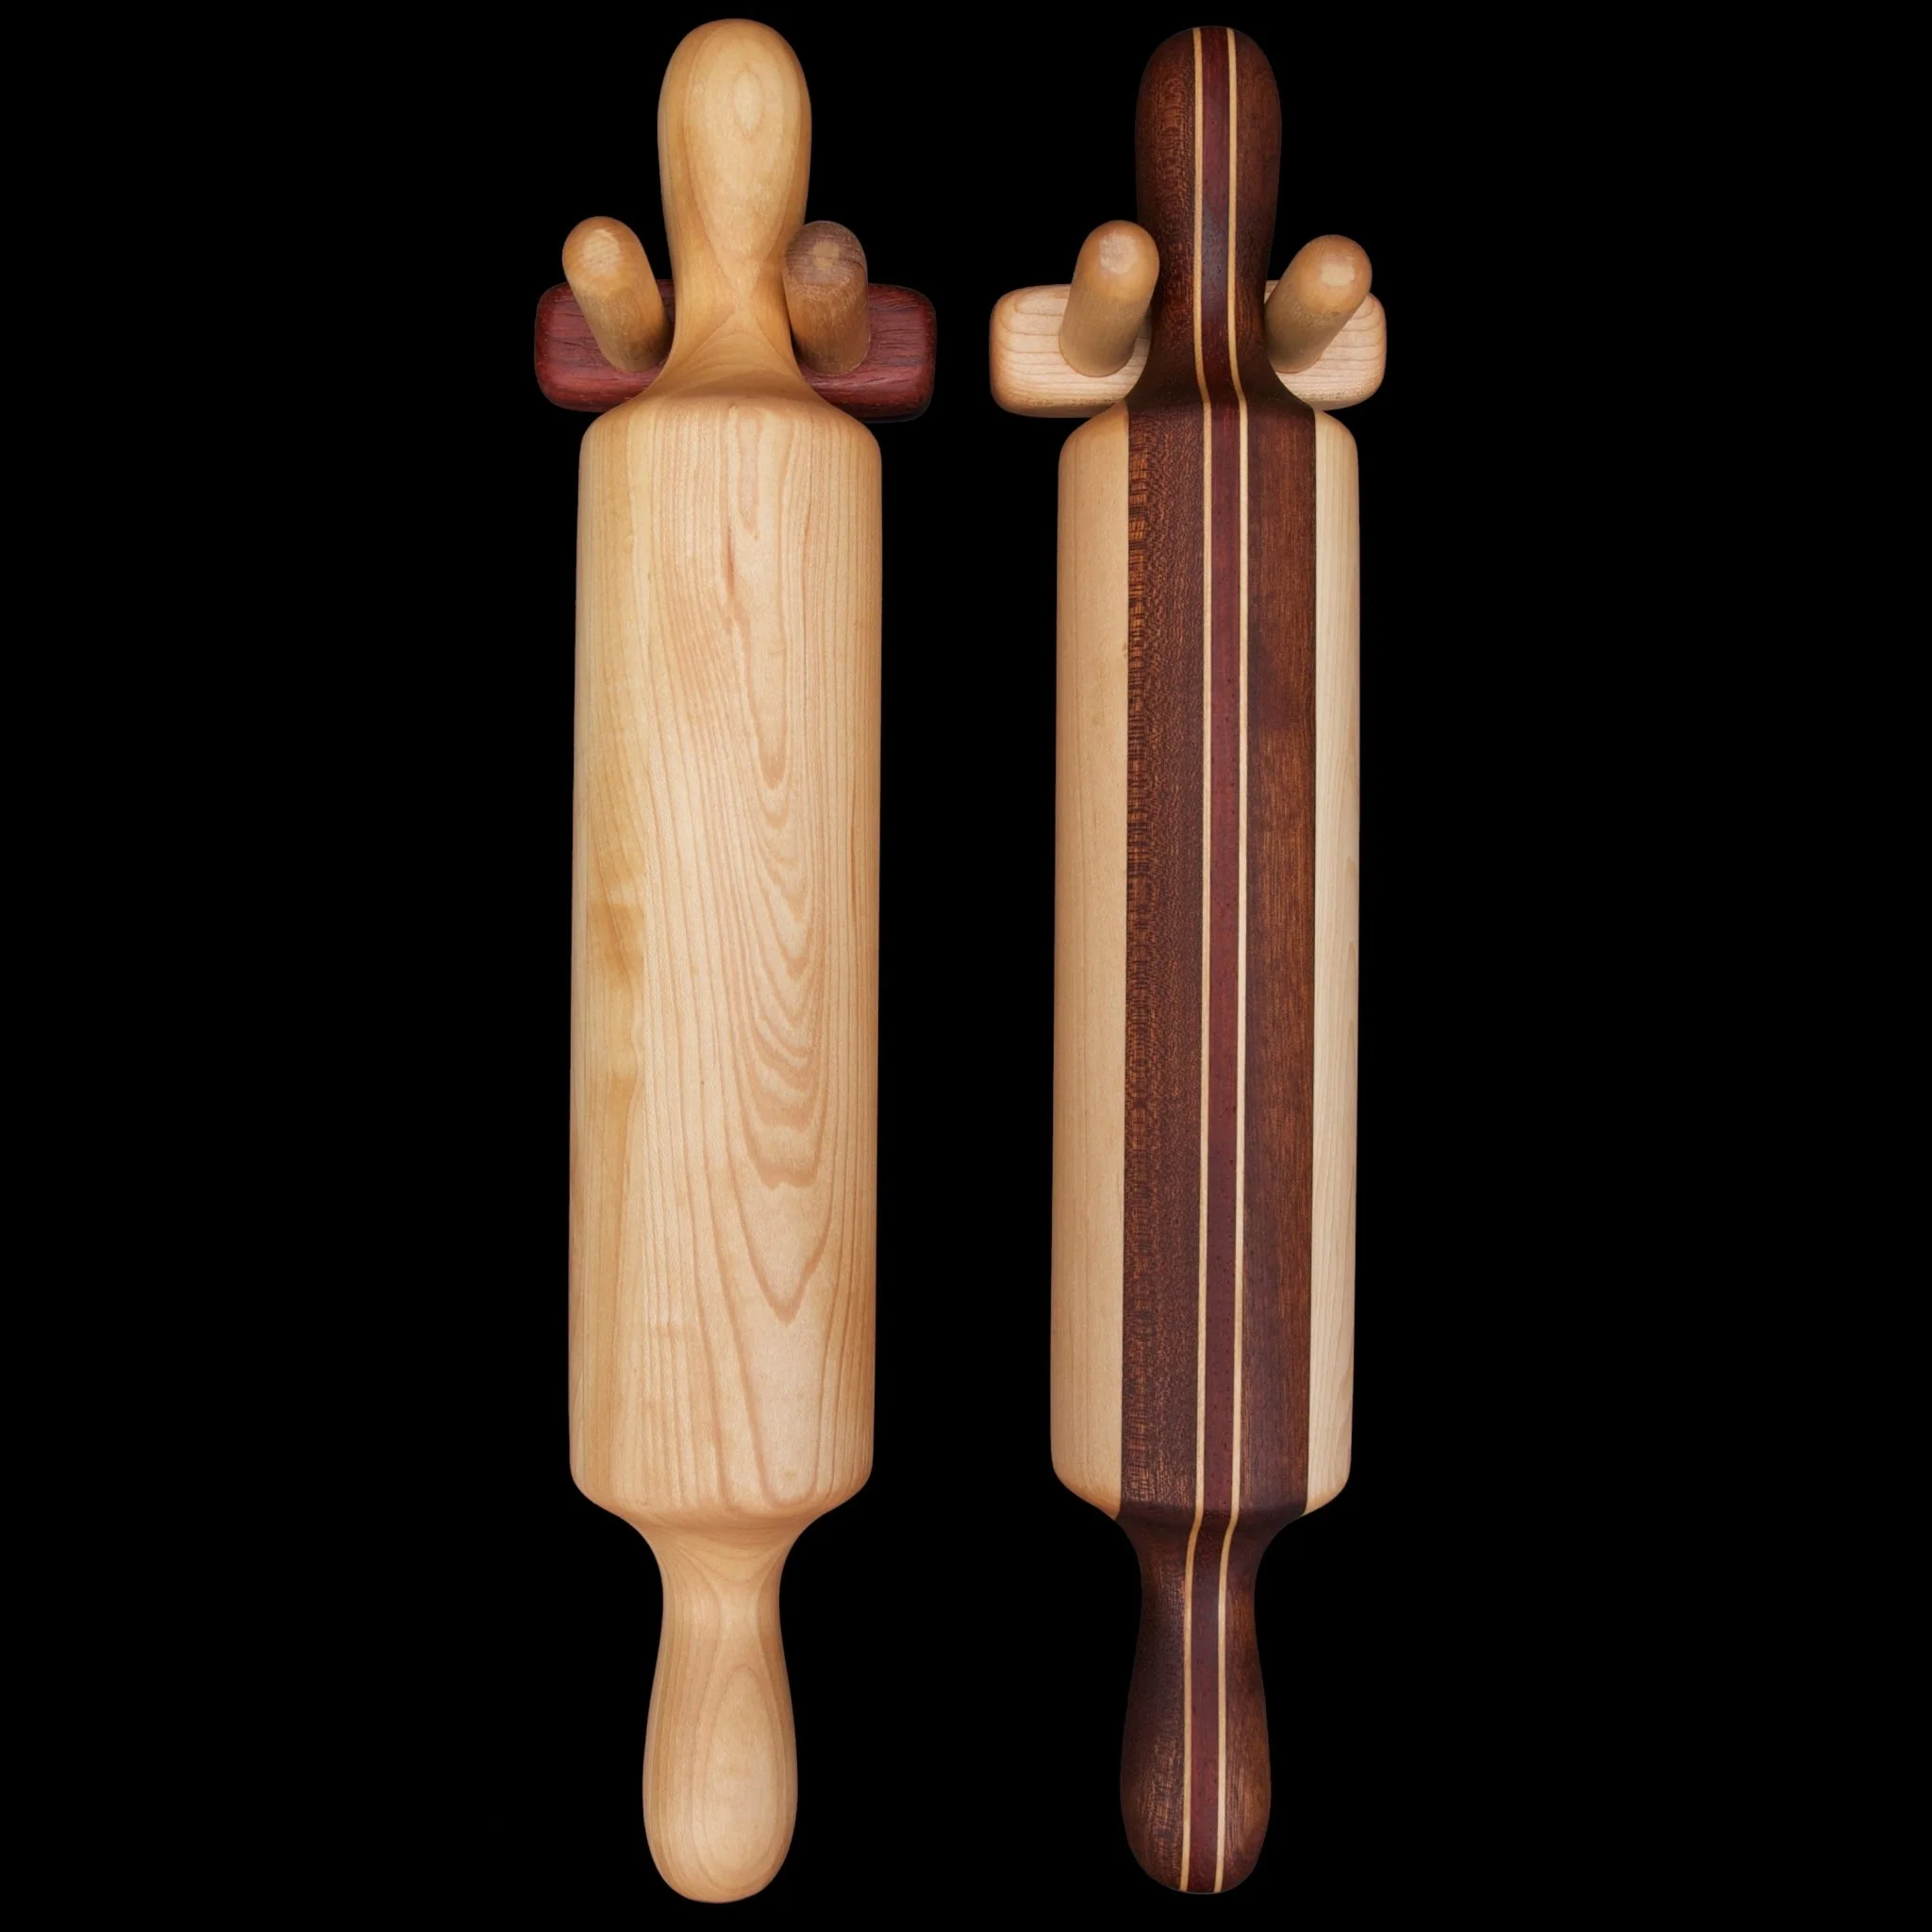
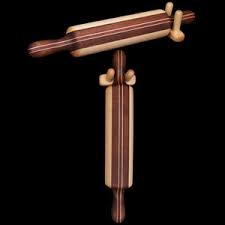
Introducing a Modern and Eye-Catching Rolling Pin & Holder guaranteed to spark conversations in any kitchen. In this instance, Rude crafted it with purpleheart, 11-ply Baltic Birch plywood (imported from Scandinavia, void-free), walnut, and maple. However, the beauty lies in your choice of wood – feel free to explore various species. Incorporating different woods enhances the possibility of creating the perfect Rolling Pin to cater to the unique preferences of each customer who comes your way!
Rude has skillfully crafted numerous elegant Rolling Pins for an East-Coast gourmet magazine, which once presented them to their readers at $35 each during the late 70s and early 80s. In today's market, their value has only appreciated further.

Start by gluing-up your stock to create a 2-1/2″ x 2-1/2″ x 18-1/2″ block. To achieve the slanted grain effect, glue up a block that’s at least 7″ to 8″ wide, then use your Bandsaw to slice the stock on an angle. Glue everything together using waterproof resorcinol or polyurethane glue, so the Rolling Pin can be cleaned with soap and water after each use.
Cut on a bevel, turning the stock will open up a lot of beautiful grain, but you’ll want to be careful that the exposed plies don’t catch your Lathe Chisel and tear themselves as you turn the Pin.
Mount your stock between centers. To prevent burning, use a Ball Bearing Tailstock Live Center. Start by using your Gouge to rough your blank down to a smooth cylinder. Maintain a gentle grip on your chisel to avoid abrupt movements and prevent unnecessary fatigue caused by gripping it too tightly.

First, use a pencil to mark the handle locations, then use an Outside Caliper and your Parting Tool to establish the diameters of the middle portion of the Pin and the Handle Knobs. Then, return to your Gouge and cut the Knob nearest the Tailstock first – making each Knob as wide as it is thick.
Switch to a Roundnose Chisel to create the sweeping transition areas from the Knobs to the Pin Body.
Once the basic shape has been turned (and while it’s still mounted on the Lathe) sand the Pin with 80-grit, followed by 100-grit, then 180-grit sandpaper to achieve a super-smooth surface. Finish with Salad Bowl Finish or non-toxic Preserve Oil Finish.


Comments