Page 54 of 88
Re: Using a Shop Smith Mark V on a Chris Craft Roamer refit
Posted: Wed Aug 15, 2018 7:24 pm
by roamer46
Thanks algale! I had to laugh when I saw Gale's Law in your sig. It's TRUE!!! lol
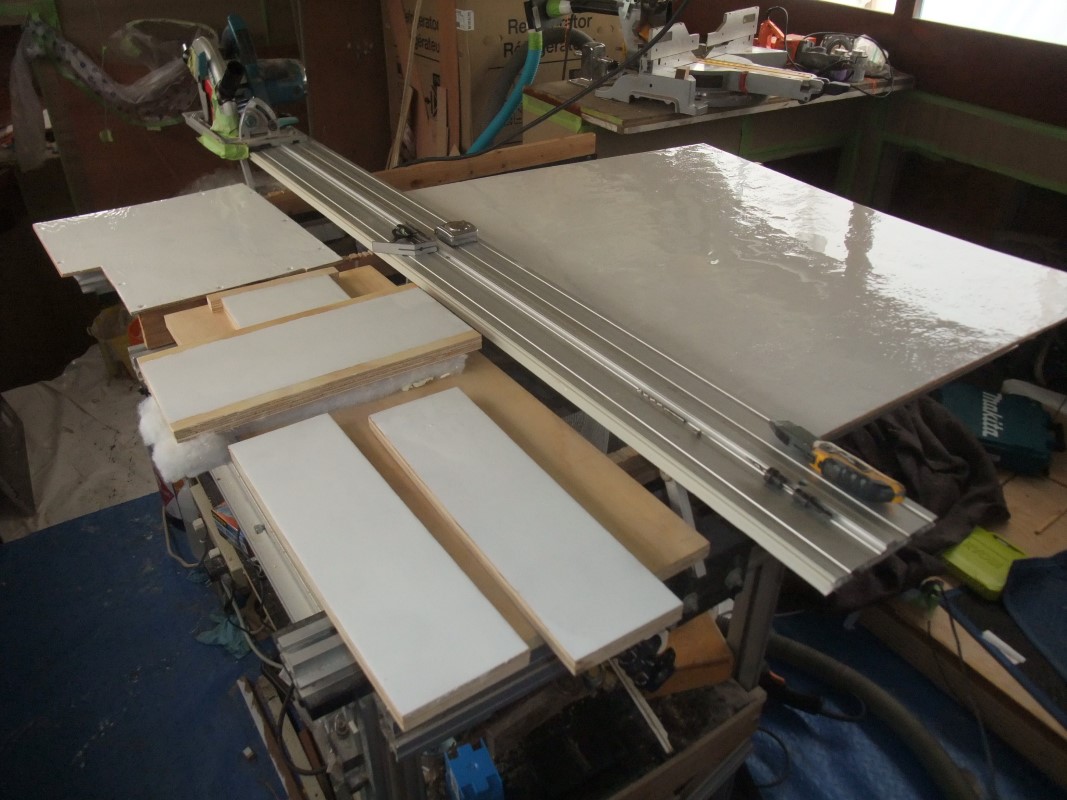
I wrapped up the last insulated plywood panel install inside the starboard salon cabinetry. I am sick and tired of spending the weekend inside cabinets, so the timing's perfect. All of the other insulated panels in this cabinet have been just clear epoxy coated...a fact I wasn't thinking about when I mixed up a big pot of epoxy and tinted it white for another panel. I figured I'd do all of them at the same time. It was only when I went to install it that I realized this is the only white insulated panel. It won't matter since they're up inside the cabinet and will probably never be seen by any guest, but still, I laughed when I realized what I'd done.
1969 Chris Craft Roamer 46 Refit: Wrapping Up the ‘Behind the Scenes’ Starboard Salon Cabinetry
Cheers,
Q
Re: Using a Shop Smith Mark V on a Chris Craft Roamer refit
Posted: Fri Aug 17, 2018 8:49 am
by roamer46
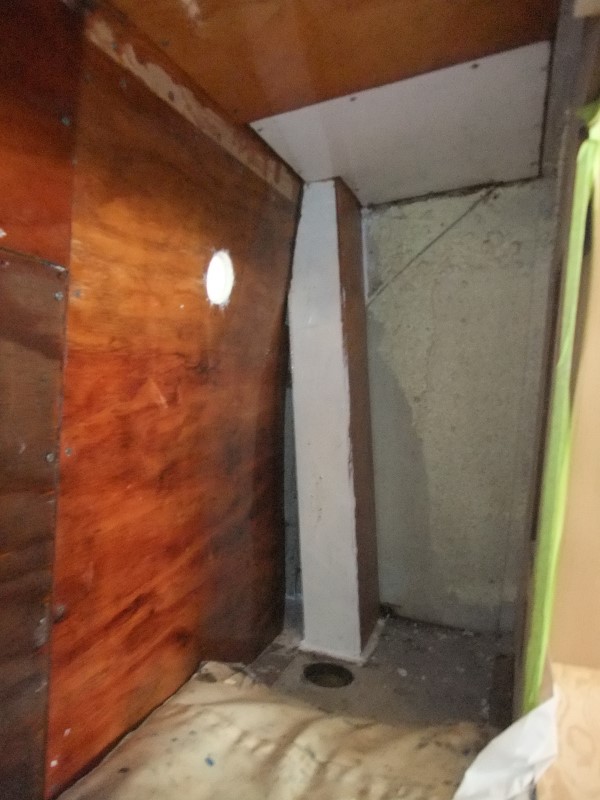
I dove back into the V-berth to button up one of the holes through the hull, specifically, the AC raw water outlet. As long as I'm installing a hose there, I decided to just get the raw water supply hose and all of the electrical done at the same time.
"Pro-gress"
1969 Chris Craft Roamer 46 Refit: Back Into the V-Berth
Cheers,
Q
Re: Using a Shop Smith Mark V on a Chris Craft Roamer refit
Posted: Tue Aug 21, 2018 10:01 am
by roamer46
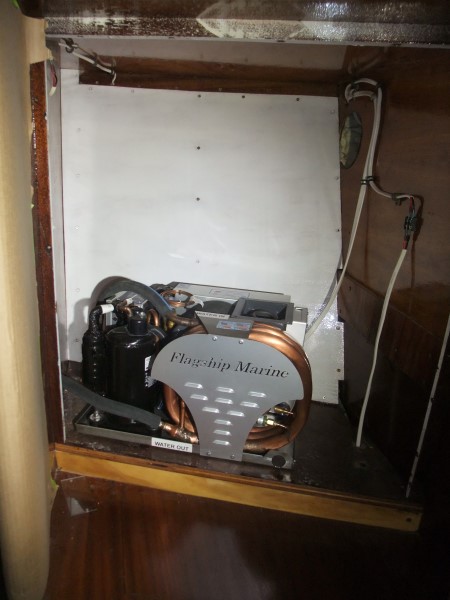
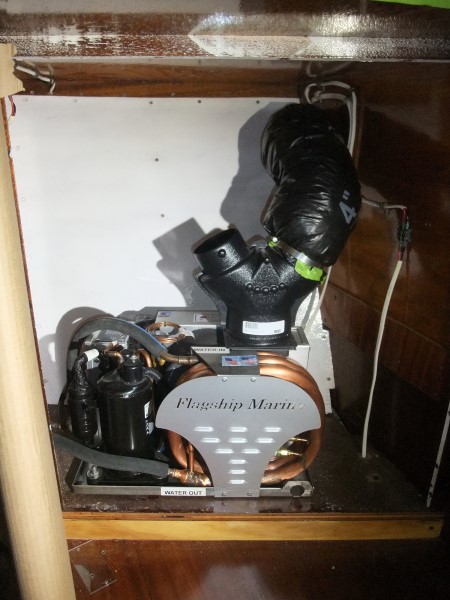
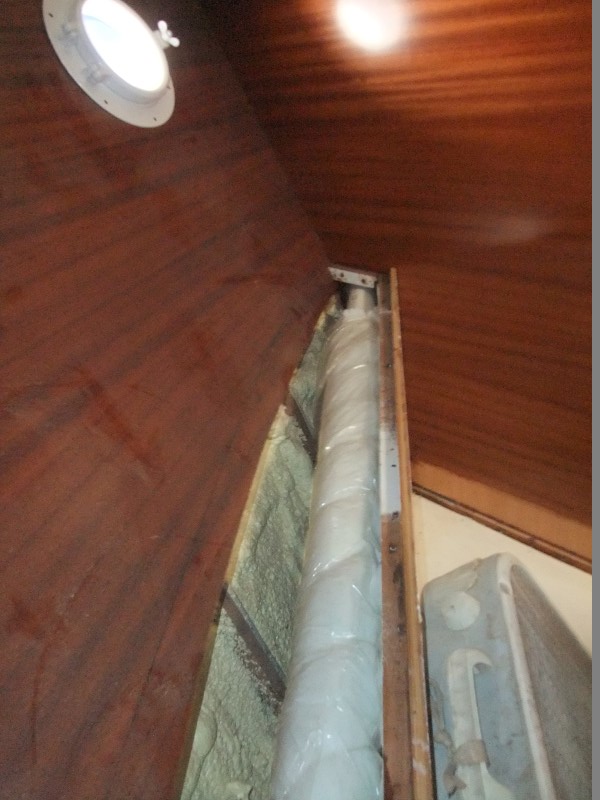
I got most of the ducting installed for the V-berth AC, which was the only thing holding me up from installing the last mahogany plywood panels. I used 4" insulated flexible duct going to the main outlet at the front of the V-berth. But because of the limited space crossing over to the starboard side, I decided to use 2" PVC as the duct supplying the head. I'll use a booster fan at the head AC outlet to pull more air through, but that'll happen later.
1969 Chris Craft Roamer 46 Refit: V-Berth Air Conditioner Ducting
Cheers,
Q
Re: Using a Shop Smith Mark V on a Chris Craft Roamer refit
Posted: Fri Aug 24, 2018 9:37 am
by roamer46
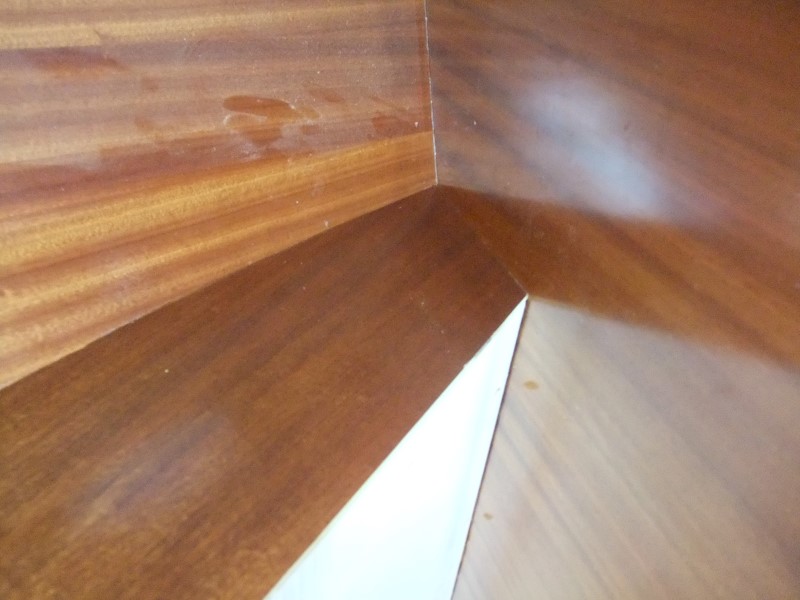
With the ducts, wiring, and plumbing installed, the last step was to install the final mahogany panels in the V-berth. I have to say...I think they turned out pretty good!
1969 Chris Craft Roamer 46 Refit: Installing the Final V-Berth Mahogany Panels
Cheers
Q
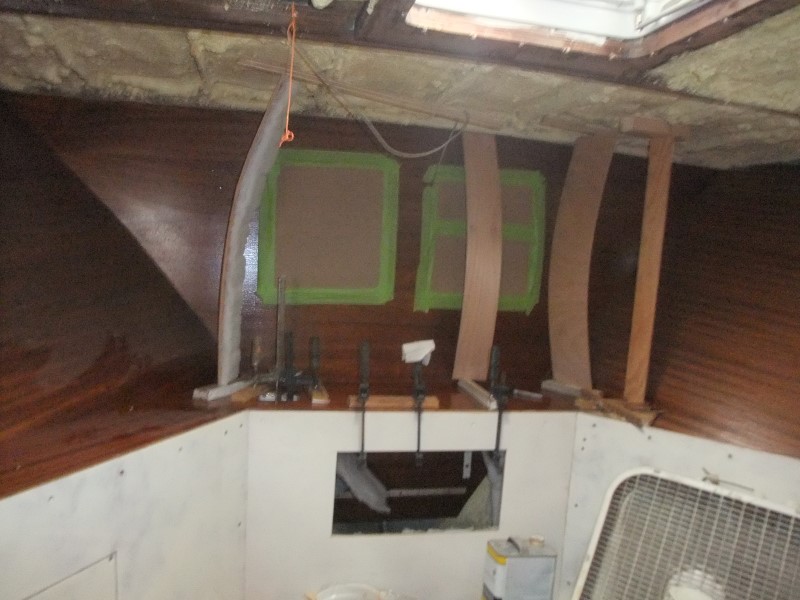
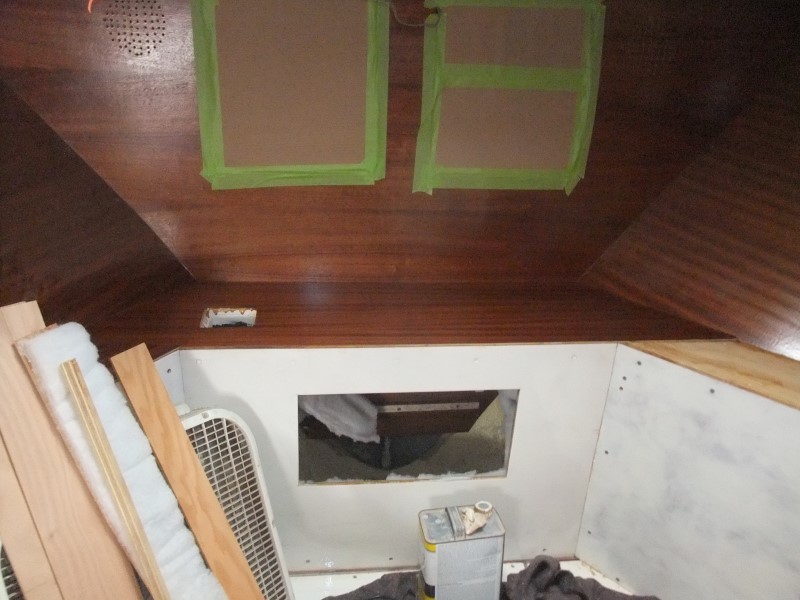
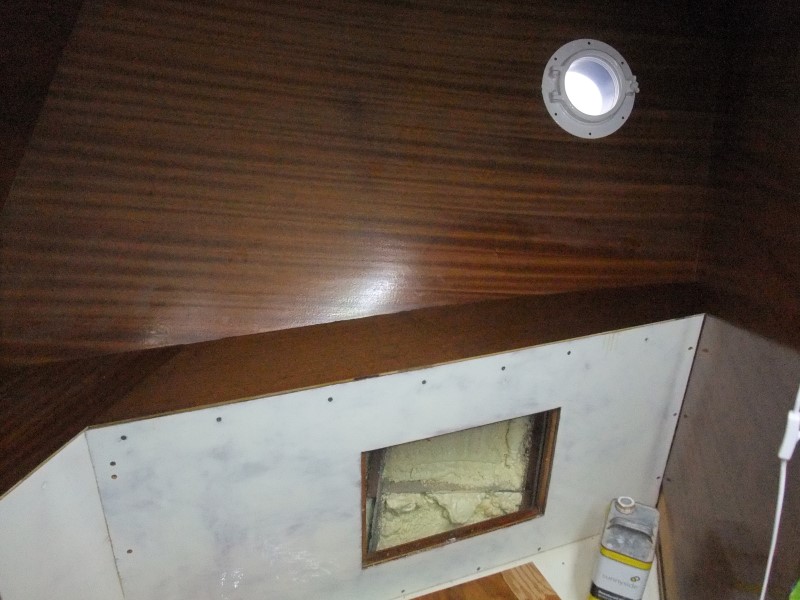
How's that for some tight, complex joints?!!
Re: Using a Shop Smith Mark V on a Chris Craft Roamer refit
Posted: Thu Aug 30, 2018 9:14 am
by roamer46
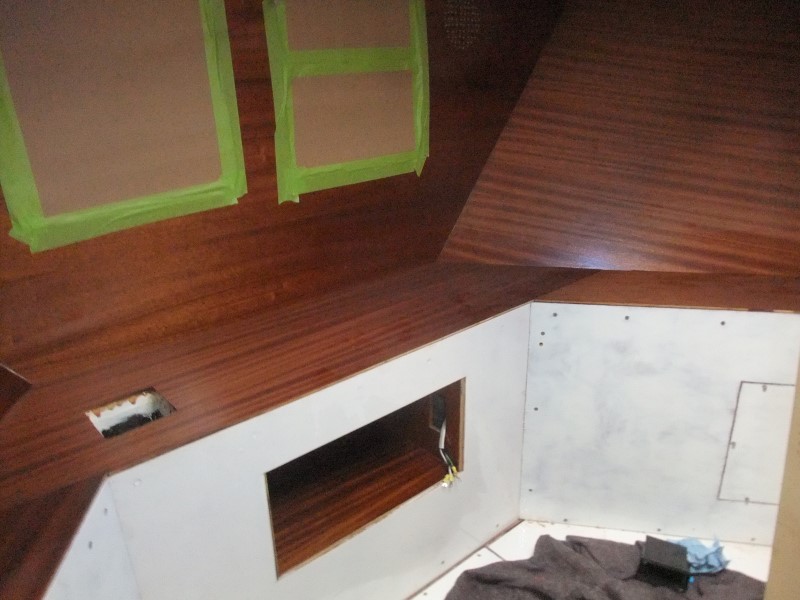
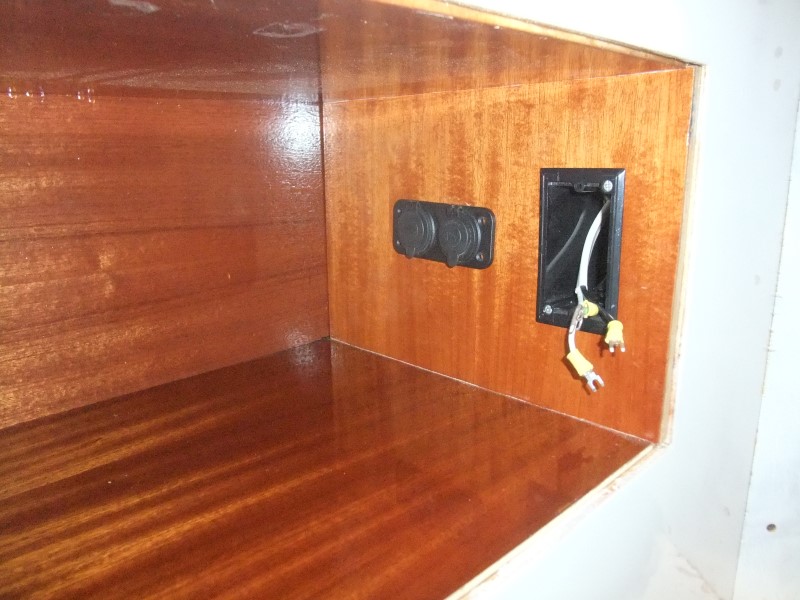
I got the wiring and plugs in the V-berth cubby cabinet installed, so that section of the boat is close to being done. There's one more coat of ICA clear coat to be sprayed, and the headliner has to be installed. But all of the woodwork there is done. Booyah
1969 Chris Craft Roamer 46 Refit: Final Install of the V-Berth Forward Bunk Cabinet
Cheers,
Q
Re: Using a Shop Smith Mark V on a Chris Craft Roamer refit
Posted: Thu Aug 30, 2018 9:25 am
by JPG
Re: Using a Shop Smith Mark V on a Chris Craft Roamer refit
Posted: Thu Aug 30, 2018 9:35 am
by roamer46
I fixed the link right after posting. You're quick!!! lol
I'd also advise getting a Shopsmith, but the cost of entry is a bit higher than just taking on an abandoned boat, where the cost comes later and more gradually!
Re: Using a Shop Smith Mark V on a Chris Craft Roamer refit
Posted: Wed Sep 12, 2018 9:31 am
by roamer46
I was getting sick of spending every single weekend in the boatyard, so I took the Labor Day weekend off and spent time on other hobbies of mine. It turns out that many of the same skills and abilities used in cabinetmaking also come in handy gunsmithing!
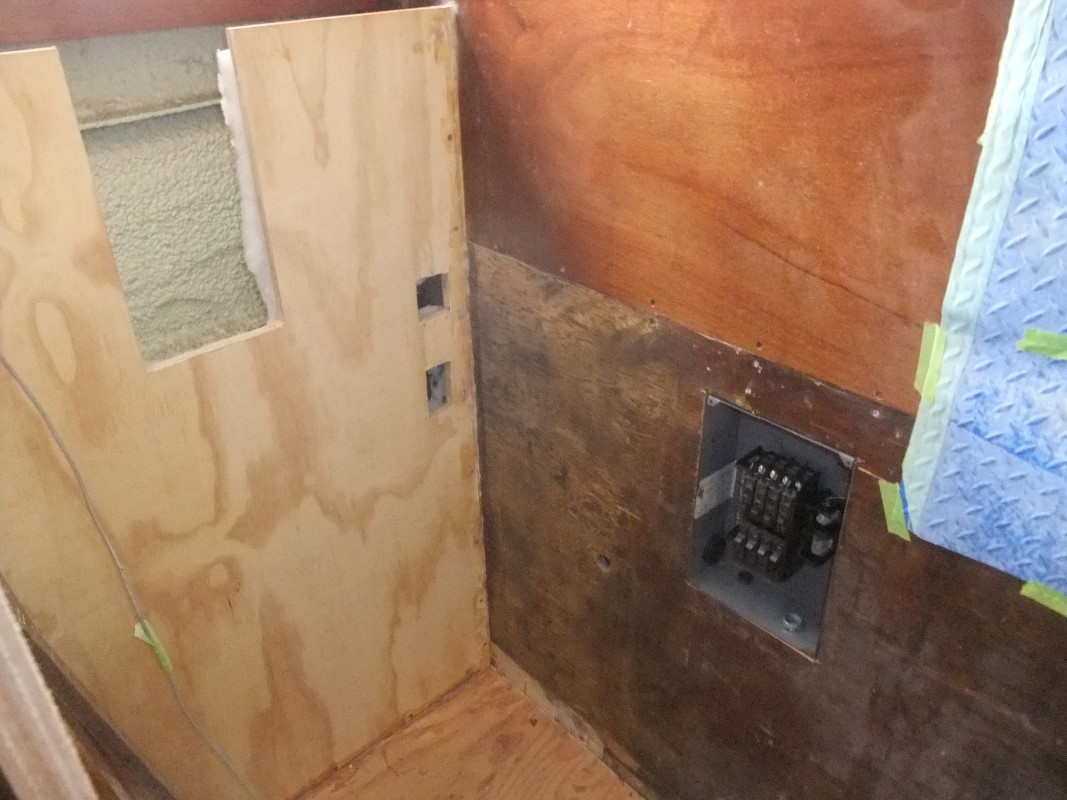
Anyway, after a long weekend away I got busy in the aft stateroom laundry closet next, which had the benefit of being lower in the boat and, therefore, much cooler while summer winds down. I did some woodworking, then installed 8/4 cable to a breaker sub-panel that will power the big appliances back here--the washer, dryer, and AC unit.
"Progress"
1969 Chris Craft Roamer 46 Refit: Back Into the Aft Stateroom
Cheers,
Q
Re: Using a Shop Smith Mark V on a Chris Craft Roamer refit
Posted: Fri Sep 14, 2018 9:48 am
by roamer46
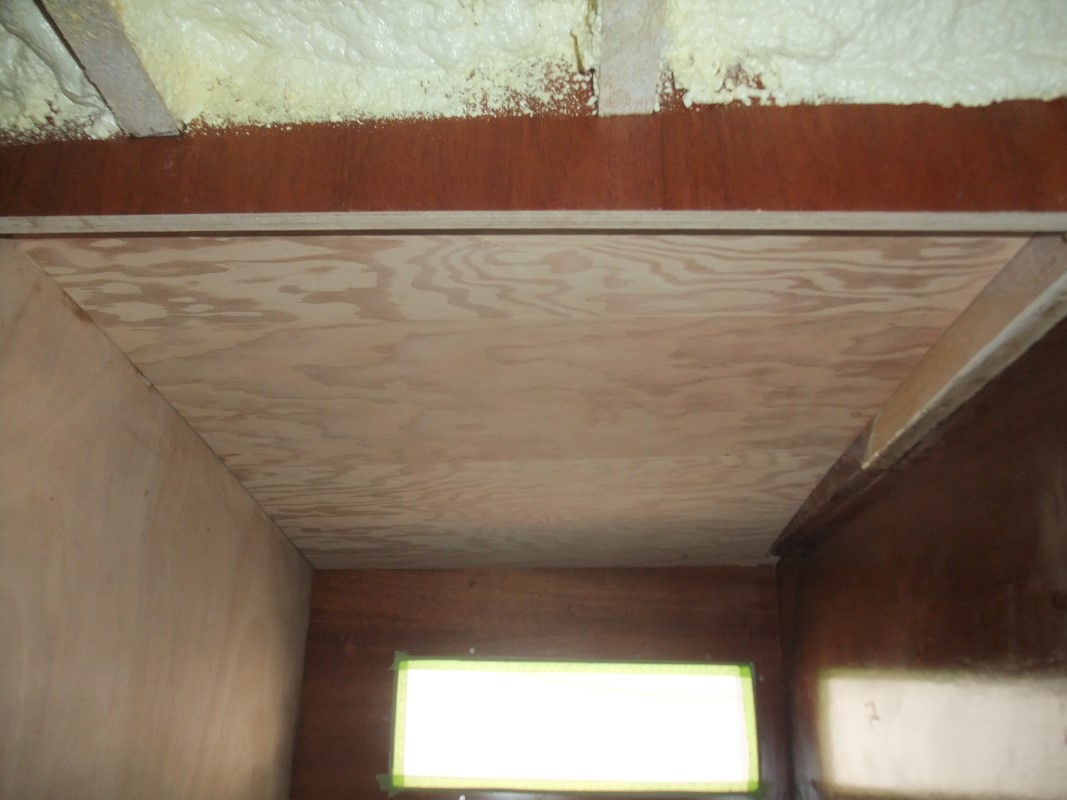
I got the laundry closet ceiling panel fitted and the backside insulated. There was a bit of a hitch along the way, but everything turned out OK.
This is coming along nicely!
1969 Chris Craft Roamer 46 Refit: Fitting the Laundry Closet Ceiling
Cheers,
Q
Re: Using a Shop Smith Mark V on a Chris Craft Roamer refit
Posted: Wed Sep 19, 2018 9:05 pm
by roamer46
After making the box for the dryer vent that will fit into the back wall, I mixed up some white-tinted epoxy and coated the visible surfaces. They turned out pretty good!
1969 Chris Craft Roamer 46 Refit: More Progress in the Laundry Closet
Cheers.
Q
