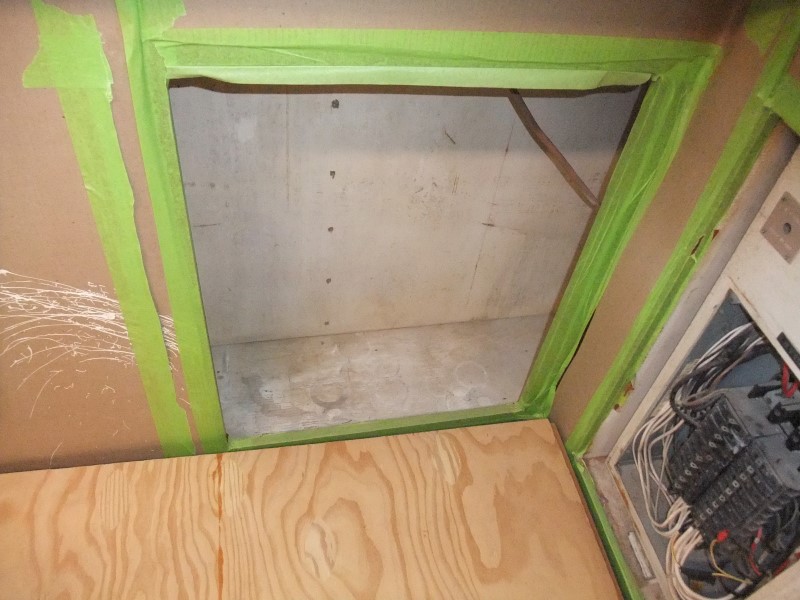
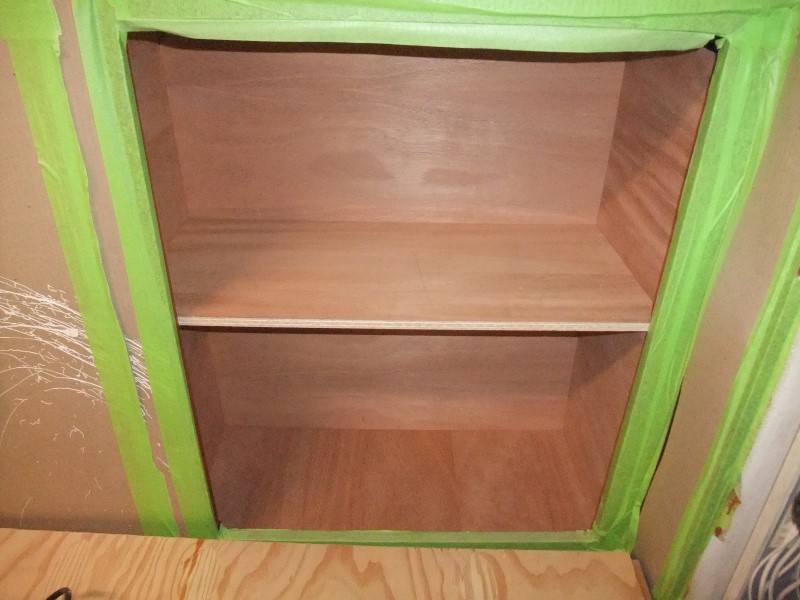
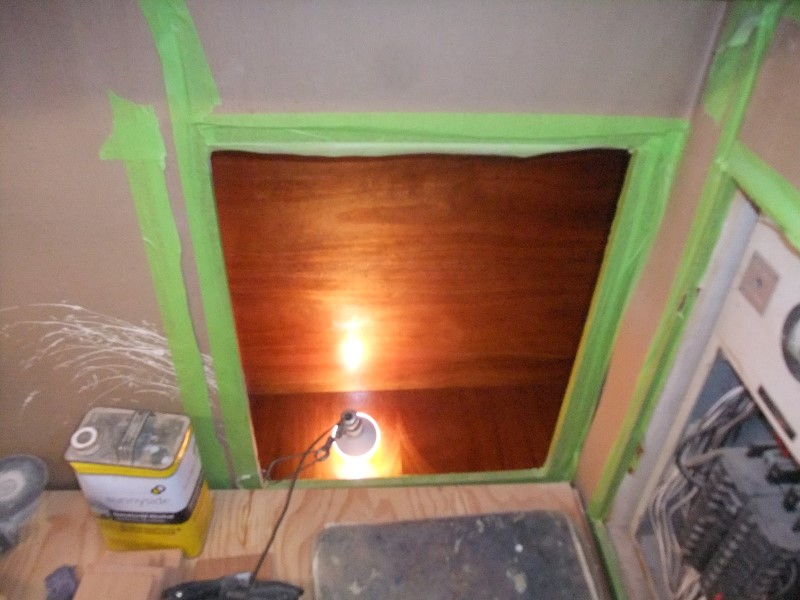
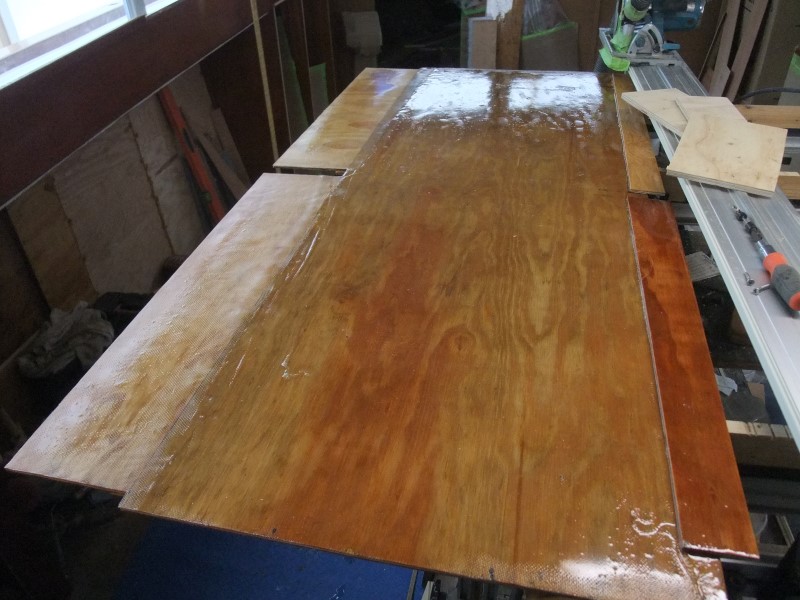
I got the interior panels cut for another OEM cabinet. They sure do look better in mahogany than 50yo grungy white paint.
There's an old saying that joinery on boats is never square, which makes sense if you're trying to conform to a curving hull. But what's strange is that even in this rectangular cabinet, the master craftsmen didn't nail the corners at 90°. Maybe one out of every four corners is square. That really adds to the amount of time it takes to fit panels like these.
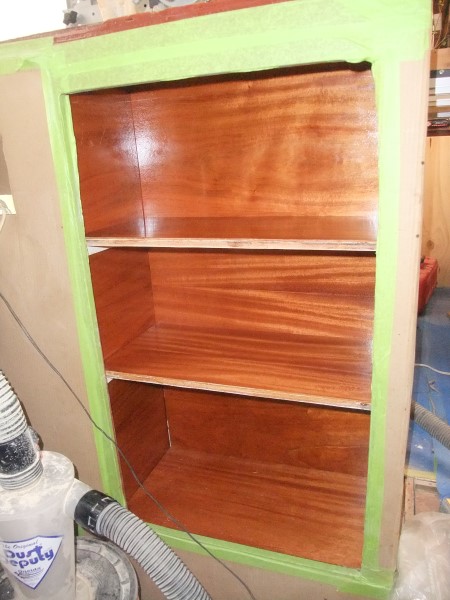
Anyway, it's looking a lot better, and the plywood stack is shrinking by the week. "Progress"
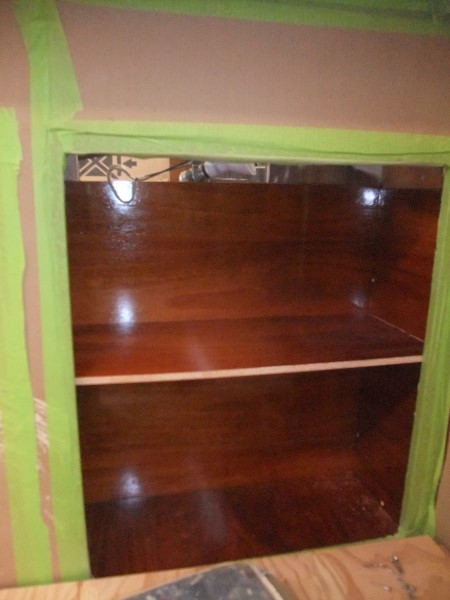
I took all the veneer plywood pieces home and varnished them there using Minwax Urethane Clear Gloss. It's easy to work with, looks good even when brushed, and is very tough stuff...perfect for cabinet interiors. I put the first group of varnished panels in the aft salon cabinet. It looks tons better than what Chris Craft did, if I do say so myself.
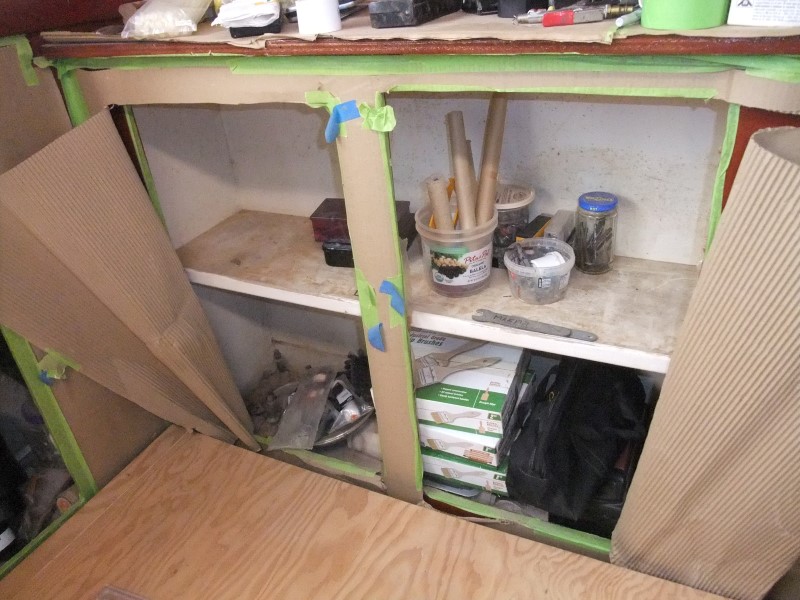
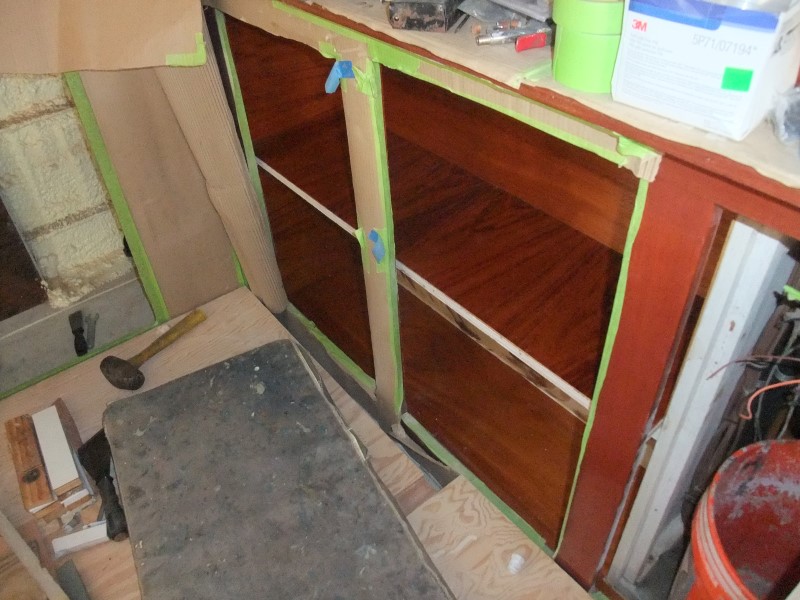
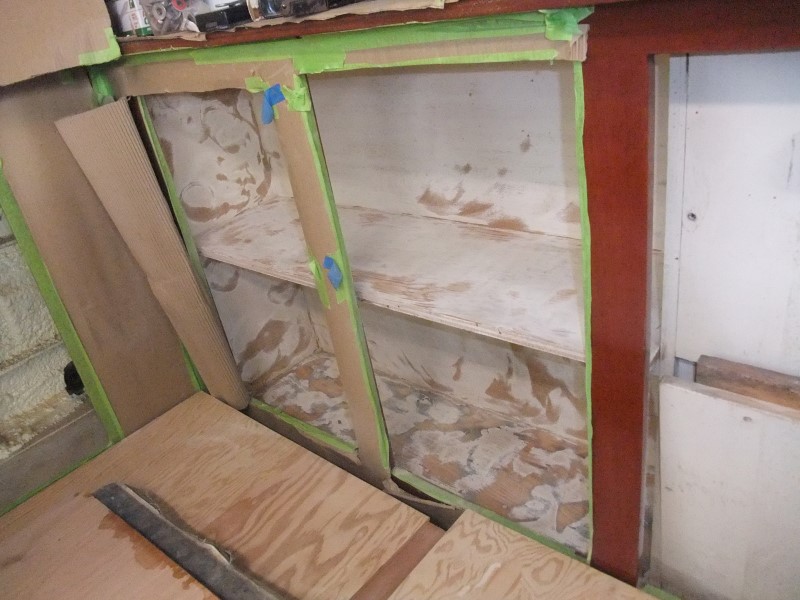
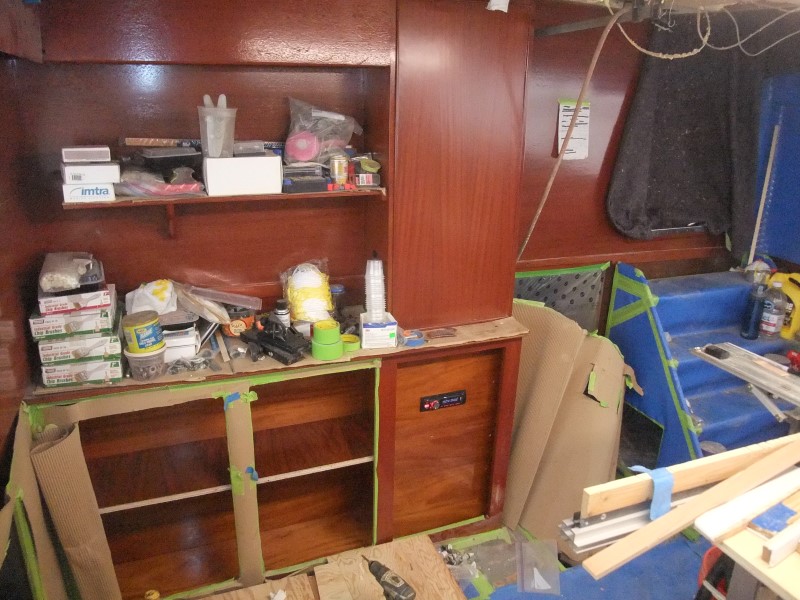
I got all of the varnished mahogany panels installed in the galley interior. It turned out pretty good, but there were so many pieces I had to break the install up over two days.
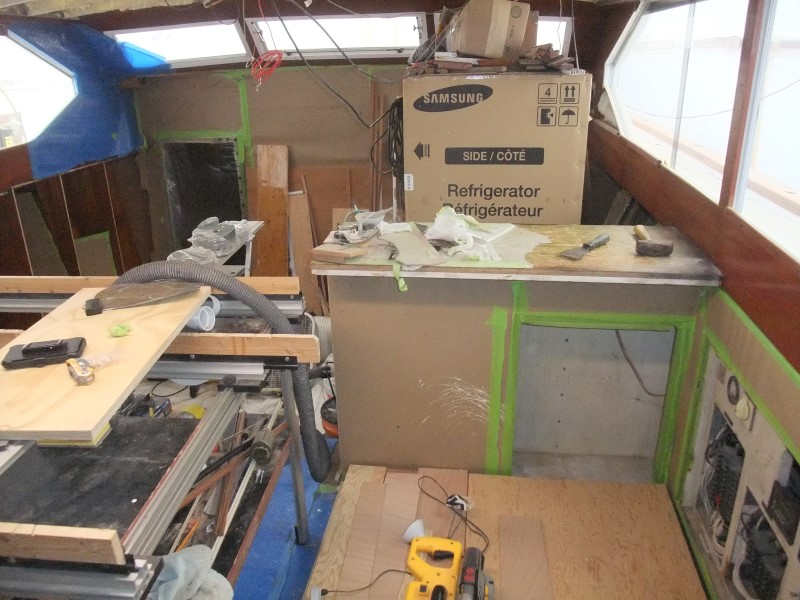
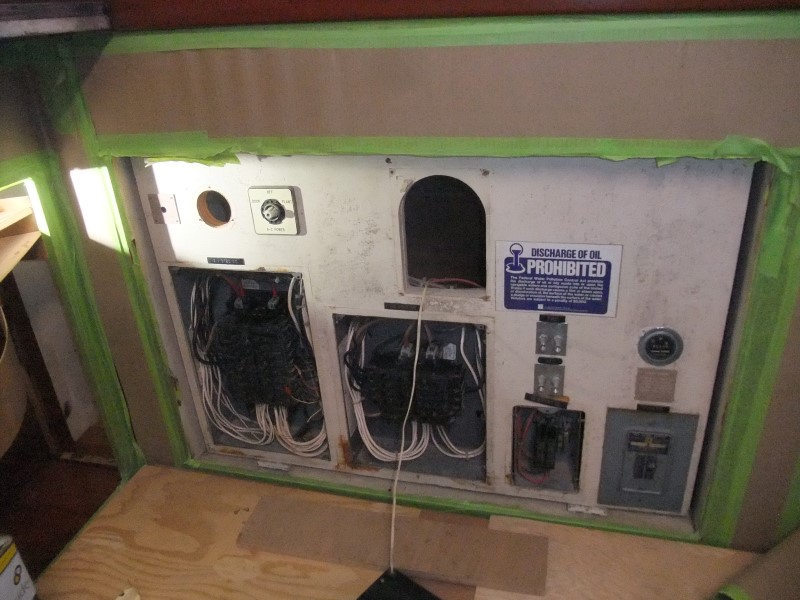
I'm soooo glad to be done with those cabinet interiors. I was getting sick of messing with all those little tiny 1/8" plywood veneers. To get the bilge vent ducts buttoned up on the starboard side, I first need to dig into the main electric panel in the salon and get it out of the way. It was a nice change of pace messing around with the electrical system.
I also was able to finally get an estimator to come out and look at the storm damage. He's supposed to get the estimate to me early next week, but he thinks it's going to come in around $20k. Geesh.
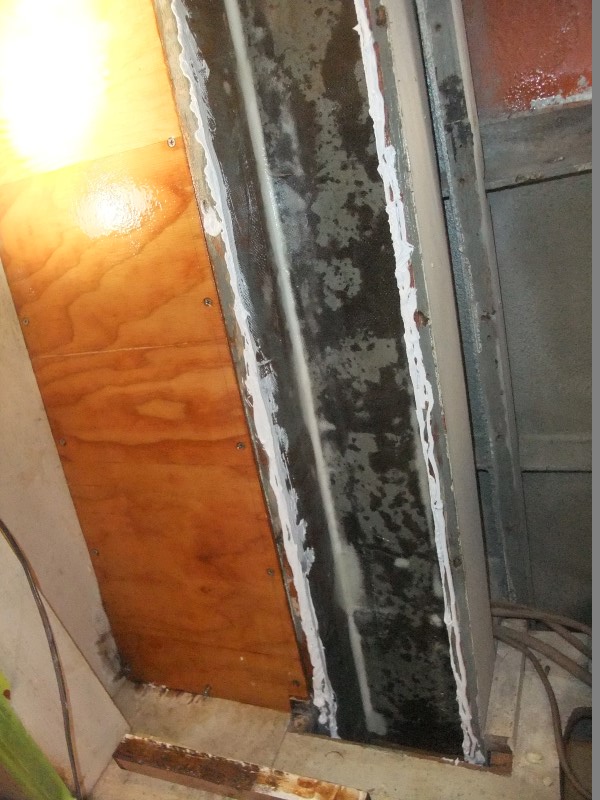
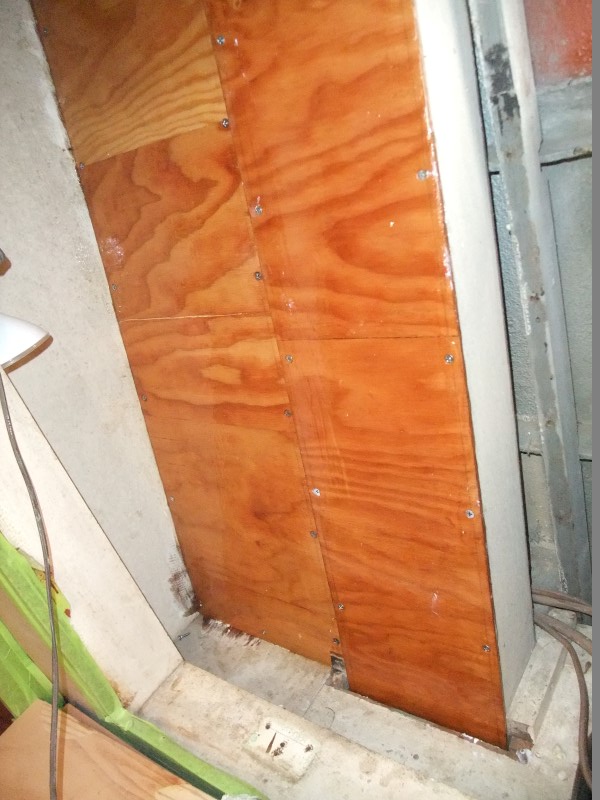
With that electrical panel out of the way, it was a lot easier to uninstall the ER vent panels that I installed a few years ago. I only coated the plywood with epoxy, but it was an especially thick version that didn't soak in very well. Cracks in the veneer ended up telegraphing through the epoxy. So I sanded it down, wetted it out with the usual, thin epoxy, and tossed on a layer of fiberglass cloth to bridge all of the cracks. I also added some length to the panel so it doesn't stop right at the salon floor. Instead, it'll go all the way into the engine room. Any water that comes in through the vent will end up in the bilge rather than messing with the salon floor.
I keep hearing from the mobile paint and fiberglass repair guy that the estimate for repairs from the storm damage months ago is on the way. Yeah...check's in the mail. And like the proverbial check in the mail, I still haven't seen the danged estimate.
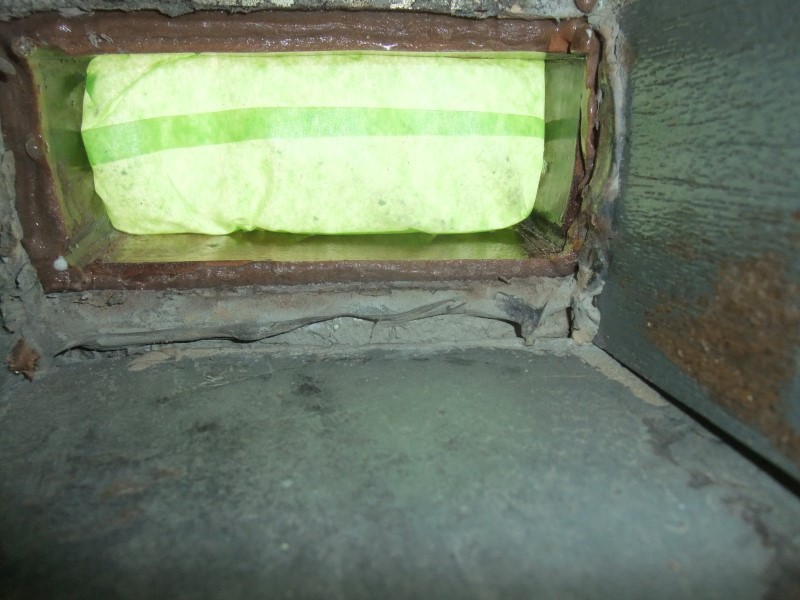
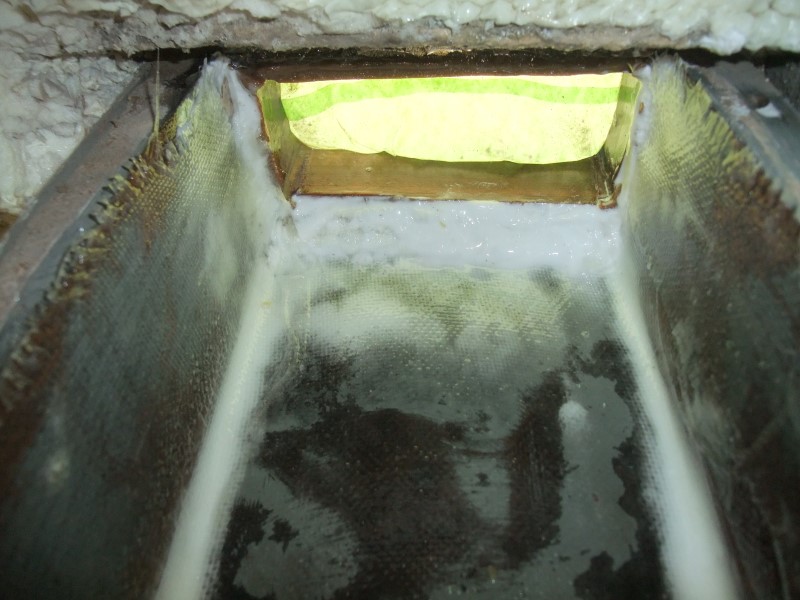
So I got busy on the forward salon bilge vent duct. It looked pretty good initially, but on closer inspection I decided to dig into it...and I'm very glad I did. I ended up fiberglassing the OE duct since it was still fairly solid. That gave me a chance to do some fillet work again, which always makes me happy. All told, it turned out much better than what Chris Craft did originally.
I got that vent duct all sealed up and installed the insulated panel next to it. Booyah.
I also finally got the estimate for repairs of the damage from the big Nor'easter a couple months go. The bill comes to $23k...and $1,000 of that was taxes!!!