I had a piece of 1/2" plywood that was wide enough but not as long as I would have liked, but hey sometimes you just go with what you have,
The same side parts that got the pocket holes will get the pocket holes to attach the top. Just because I can I switched to the micro jig. This way you can see the reduction on pocket size on a real cut. I did a set of marks that would result in having 3 pockets per side.
So you can see just how what happens if you don't use the chip collector this is the results of drill 6 holes with the micro jig.

- p7.jpg (146.62 KiB) Viewed 10650 times
Here is a shot of the the standard jig and the micro jig pocket holes.

- p8.jpg (99.63 KiB) Viewed 10650 times
These are the two pieces with all the pocket holes drilled.

- p9.jpg (135.67 KiB) Viewed 10650 times
For this application we know that the joints holding the 1 x 4's will need screws but we have not yet talked about which ones. We also know that the top being only 1/2" thick and have micro jig holes will need a different screw.
So we know it is soft wood, pine perhaps so the course thread is called for. Length wise 1-1/4" will do. As far as finish, it is just going to live in the shop so the standard zinc finish will do fine.
The micro jig requires that pan head screws are needed. The plywood could take a course screw but I don't have any so fine thread will be use. As far as length go we need 1". They only come in zinc so no choice there.
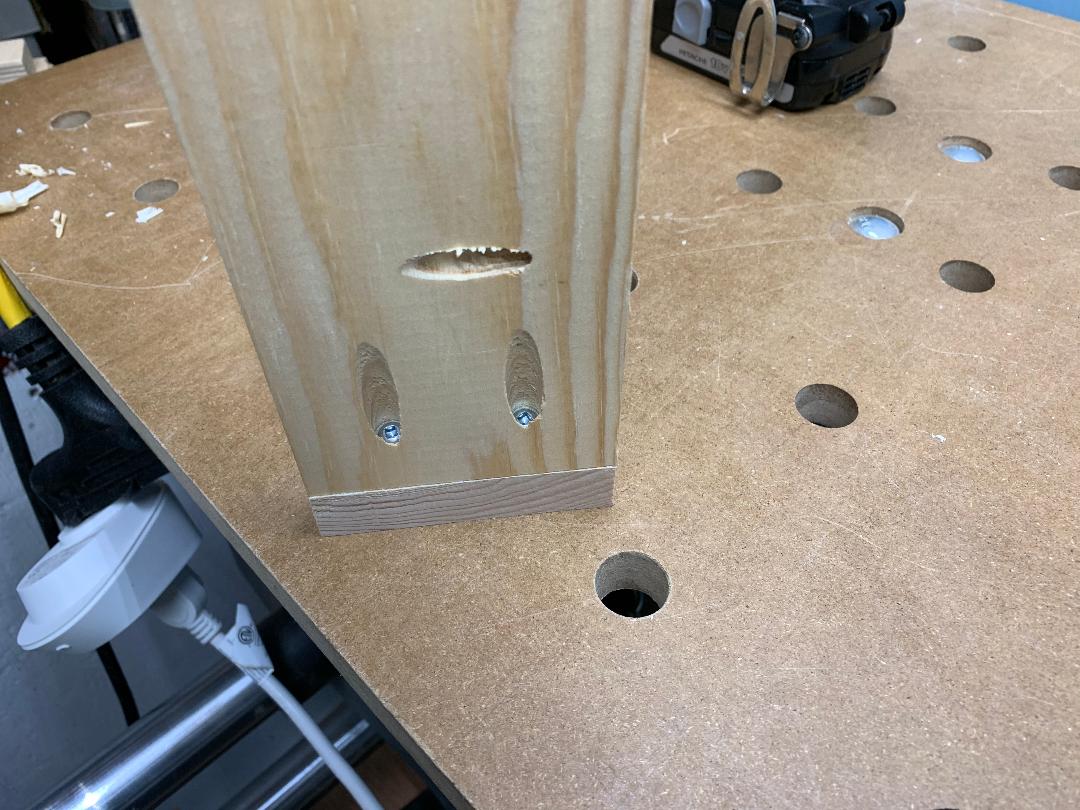
At this point it is time to drive the screws in. When drilling with a portable drill with a speed range you want it set to high, drilling the screws you need to set it back to low range. As a possible reference I have my dill set to #13 but it is a good idea to test each time you set up. This the joint with the screws driven in. You will no doubt notice that the pockets are on the outside. They can go either way depending on what might be exposed or need to be smooth or is more visually appealing.
- p10.jpg (141.99 KiB) Viewed 10650 times
After installing the 4 screws it time to attach the top. Here you can see how I clamped it up to put the screws in.

- p11.jpg (100.51 KiB) Viewed 10650 times
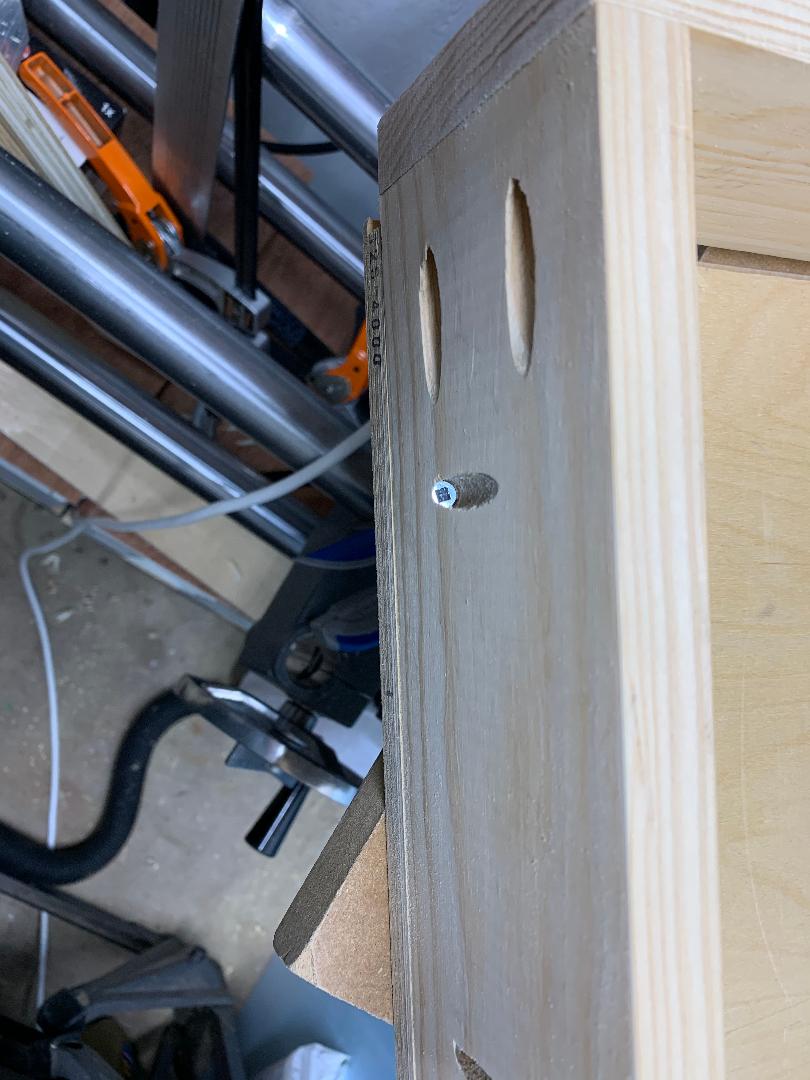
Here is one of the pan head screws driven in:
- p12.jpg (95.9 KiB) Viewed 10650 times
Flip it over and make sure no screws have come through........ yep good to go.

- p13.jpg (110.18 KiB) Viewed 10650 times
Had I not been working on the post I would have just got out my nailer and put this together as it would have been faster but hey what I don't do for education.
Ed