I would guess 'shiney' = Well Waxed. White = melamine?joedw00 wrote:That looks good. What did you use for the top, it looks shiny? Where did you get the on/off switch?
Making a Router Table that fits on my 510
Moderators: HopefulSSer, admin
-
JPG

- Platinum Member
- Posts: 34648
- Joined: Wed Dec 10, 2008 7:42 pm
- Location: Lexington, Ky (TAMECAT territory)
╔═══╗
╟JPG ╢
╚═══╝
Goldie(Bought New SN 377425)/4" jointer/6" beltsander/12" planer/stripsander/bandsaw/powerstation /Scroll saw/Jig saw /Craftsman 10" ras/Craftsman 6" thicknessplaner/ Dayton10"tablesaw(restoredfromneighborstrashpile)/ Mark VII restoration in 'progress'/ 10E[/size](SN E3779) restoration in progress, a 510 on the back burner and a growing pile of items to be eventually returned to useful life. - aka Red Grange
-
curiousgeorge

- Platinum Member
- Posts: 880
- Joined: Tue Feb 27, 2007 1:00 am
- Location: Fort Worth, Texas
Thanks, Dusty.
Joe,
Thanks to you also.
The top is made of two layers of 3/4 MDF glued together with Formica on the top and bottom. The reason for the Formica on both top and bottom and the wood trim, although MDF is very flat and stable, is to minimize warping from moisture. It makes for a slick surface and is very easy to keep clean. You can write on it with a pencil and it just rubs right off. As for the switch... I don't remember if I got it from Woodcraft or Rockler. Either way there are many safety switches available out there.
George
Ft. Worth, TX.
Go TCU Froggies
Ft. Worth, TX.
Go TCU Froggies
-
wlhayesmfs
- Platinum Member
- Posts: 667
- Joined: Fri Jul 21, 2006 10:50 am
- Location: Broken Arrow OK
What I did was take a counter top from an old video store and made it the same size as the MKV table. Added the extra 510 tubes and now it is a very large work service that will allow me to use the MKV rip fence also.
Not too hard to find extra parts from someone that did the upgrade from 510 to 520
Not too hard to find extra parts from someone that did the upgrade from 510 to 520
- Attachments
-
- my table 1 small pic.jpg (46.63 KiB) Viewed 2785 times
-
- my table 2 small pic.jpg (54.46 KiB) Viewed 2788 times
Bill 
Broken Arrow OK
MKV, 510, MKVll, 50th Anniversary 520 with Jointech saw train, Bandsaw, scroll saw, joiner, 6" Sander,Stand Alone Pin Router and Router Table, Strip Sander, Jigsaw & (4) ER's plus Jigsaw for ER. DC SS RAS
Broken Arrow OK
MKV, 510, MKVll, 50th Anniversary 520 with Jointech saw train, Bandsaw, scroll saw, joiner, 6" Sander,Stand Alone Pin Router and Router Table, Strip Sander, Jigsaw & (4) ER's plus Jigsaw for ER. DC SS RAS
Here's a Shopsmith Router table idea that I've been considering for a while:
I like the overall setup of the standard Shopsmith router collet in the spindle of the powerhead, but we're all familiar with the insufficient speed issue. I like the idea of being able to work from the top side of the piece instead of the bottom - it's easier to see layout lines, etc.
So why not make up some kind of a bracket, shaped like a big letter "L" that would clamp on to the Shopsmith way tubes on the vertical side, and would mount a router on the horizontal bottom. The SS would essentially be set up in vertical/drill press mode, but the powerhead would be raised up out of the way, and the router would be mounted over the main table. The original fence, featherboards, etc. could be used. I'd use a plunge router, get the depth setting approximately right by sliding the bracket up/down the way tubes, then lock it down, and dial in the final setting with the router's plunge base.
Any reason why this would be inherently a bad idea and/or unsafe?

I purchased the router table from Shopsmith. Which I used with a certain amount of success for a couple of years. Mine was configured and used on a 520. I gave up after realizing for this short fellow it was a bit too high. I found myself leaning on the table which seemed to make it difficult to keep the table level. I got in the habit of using the adjustable legs and often found they were in my way.
This past year I purchased a complete router table set up from Incra. It's just the right height to allow me to route in a seated position. Everything is stable and the quality of my work has improved dramatically.
I am most certainly not suggesting other ideas or solutions won't work. I only pass along the solution I prefer. Jim
F. Jim Parks
Lakewood, Colorado:)
When the love of power is replaced by the power of love the world will have a chance for survival.
Lakewood, Colorado:)
When the love of power is replaced by the power of love the world will have a chance for survival.
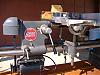
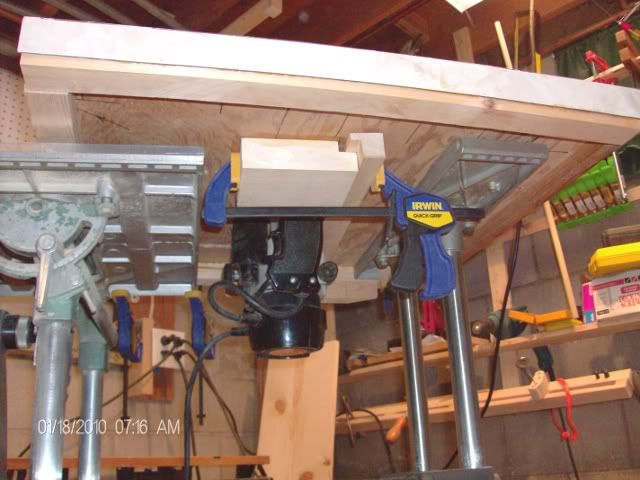
First Prototype of my Shopsmith Router Table
I used one of my left over counter tops to make my first router table.
Here it is from underneath.
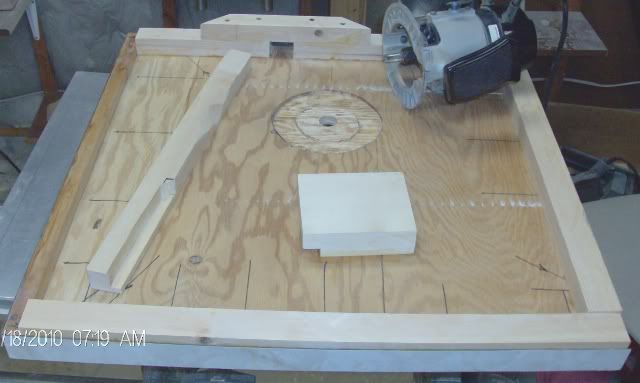
This assembly holds it tightly and makes it easy to remove for adjustments.
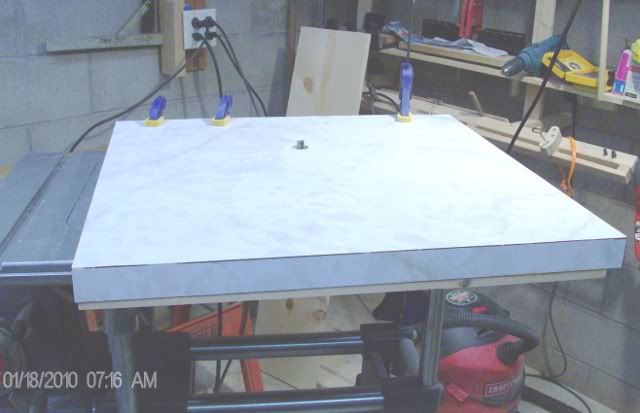
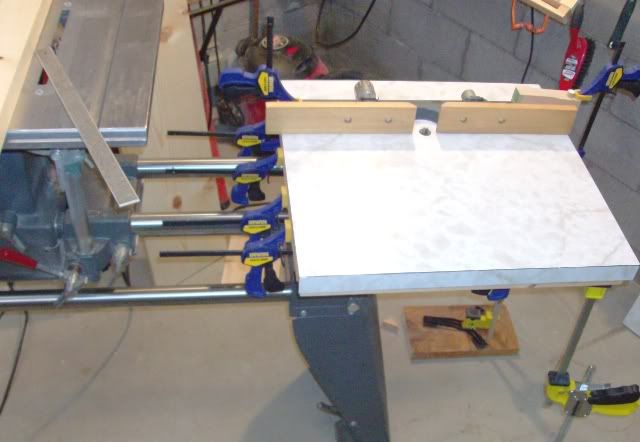
Here it is from the top spanning the table saw top and extension table.
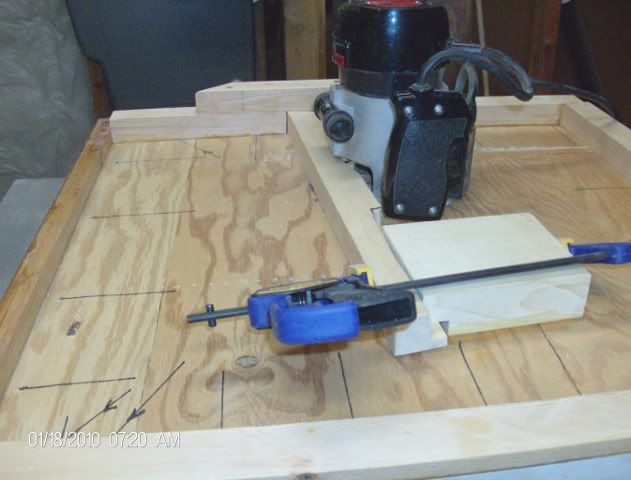
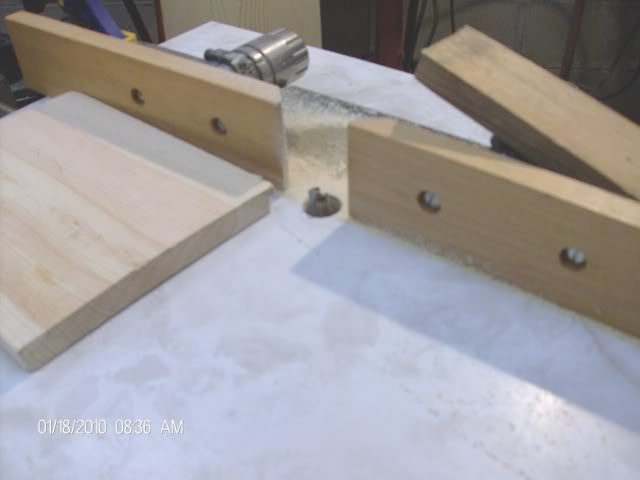
Here is the underneath view between the table saw top and extension table.
I've reached my four picture limit, and the next set of pics shows how it can be mounted just on the extension table.
Jerry Floren
St. Peter, MN
Here it is from underneath.
This assembly holds it tightly and makes it easy to remove for adjustments.
Here it is from the top spanning the table saw top and extension table.
Here is the underneath view between the table saw top and extension table.
I've reached my four picture limit, and the next set of pics shows how it can be mounted just on the extension table.
Jerry Floren
St. Peter, MN
Router Table Mounted on the Extension Table
This is still in prototype. I may use a small sawhorse with the expanding clamps for the legs, or make some legs just for the router table.
I also need to make some better fences, or find a way to attach this one better.
I like the versatility of the Shopsmith. It sure is easy to add even more tools and accessories to the basic five.
Jerry Floren
St. Peter, MN
I also need to make some better fences, or find a way to attach this one better.
I like the versatility of the Shopsmith. It sure is easy to add even more tools and accessories to the basic five.
Jerry Floren
St. Peter, MN

I never got a answer to my question.joedw00 wrote:I have been thinking about building a router table for my 520. Using two 3/4" thick pieces of MDF plus the router, and rails how heavy are they to pick up and put on the SS? How do you store it when not in use? Do you remove the router so it would not be sticking out? I have almost made up my mind to build a stand alone table. I like the looks of this Router Table
Joe
520, Bandsaw, Beltsander, Delta Drill Press, Delta Lathe, Craftsman Planner/Jointer, Delta Planner, Mini "Greenie" Shorty 500
Being a VETERAN is an honor
Being a GRANDPA is priceless
520, Bandsaw, Beltsander, Delta Drill Press, Delta Lathe, Craftsman Planner/Jointer, Delta Planner, Mini "Greenie" Shorty 500
Being a VETERAN is an honor
Being a GRANDPA is priceless